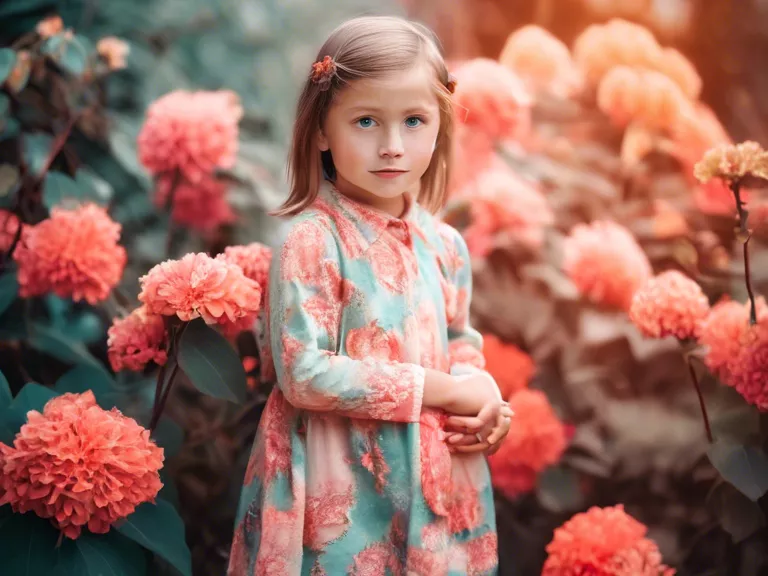
Editing photos in Lightroom can drastically enhance the colors and contrast, making your images pop. In this article, we will guide you through the process of editing photos to achieve stunning results.
First, open the image you want to edit in Lightroom. Then, head over to the Develop module where you can make all your adjustments. Start by adjusting the Exposure slider to set the overall brightness of the image. Next, move on to adjusting the contrast to make the colors stand out more.
To enhance the colors in your image, use the Vibrance and Saturation sliders. Vibrance is great for boosting the muted colors in your image without oversaturating them, while Saturation helps intensify all the colors in your image.
To make specific colors in your image pop, you can use the HSL (Hue, Saturation, and Luminance) panel. Here, you can adjust the individual hues, saturations, and luminance levels of each color in your image.
Next, focus on adjusting the shadows and highlights to add more depth to your image. Bring out the details in the shadows and recover the blown-out highlights to achieve a more balanced exposure.
Lastly, apply some sharpening to make your image look crisp and detailed. You can also add some vignetting to draw the viewer's eye towards the center of the image.
Once you're satisfied with the edits, don't forget to save your image. You can then export it in your desired format and resolution.
With these simple steps, you can easily enhance the colors and contrast of your photos using Lightroom, turning ordinary images into stunning works of art.


